Safer, More Secure, Faster and Cheaper to Trade With 3zoom


Tags : aion fire temple, fire temple guide, aion guide
Once you have finished your race's respective attunement quest, you gain access to the Aion Fire Temple. Fire Temple is an important instance for level 30+ due to how often you can run it (there is only a 30 minute lockout from the time you enter, so by the time you finish, you can enter again) and it is also (unless you get a lucky world drop) your first shot at a gold quality weapon.
Fire Temple also hosts a variety of rare spawn bosses that each drop their own green or better gear. To begin our guide, I will highlight these bosses and their locations.
Boss Locations

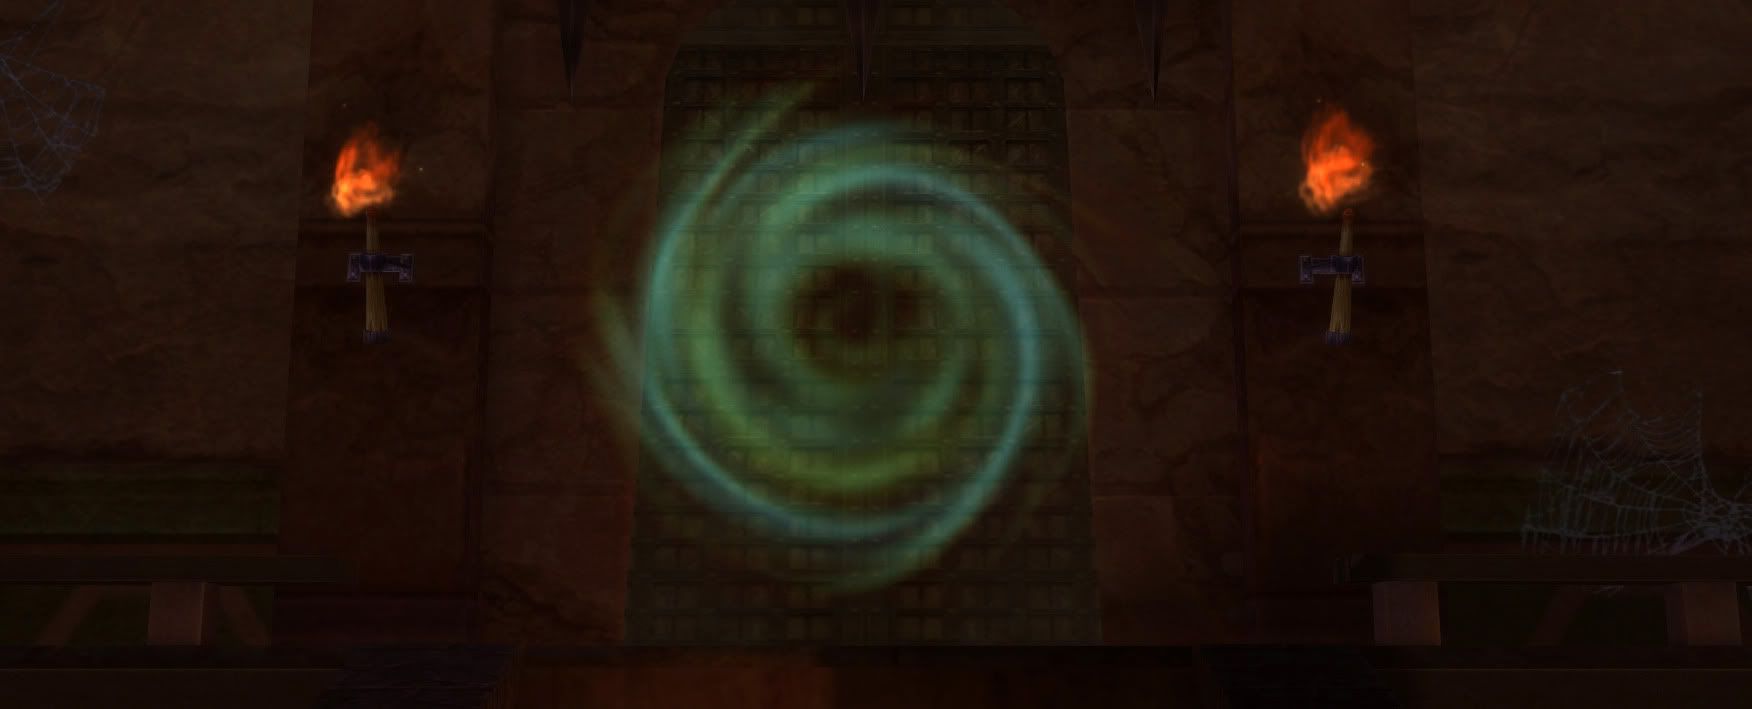
Elyos Entrance to the Fire Temple
Fire Temple is a pretty cut and dry instance. There are many different pathways to take while within the temple, but if you're only doing Kromede runs, you can follow the map above without running into dead ends.
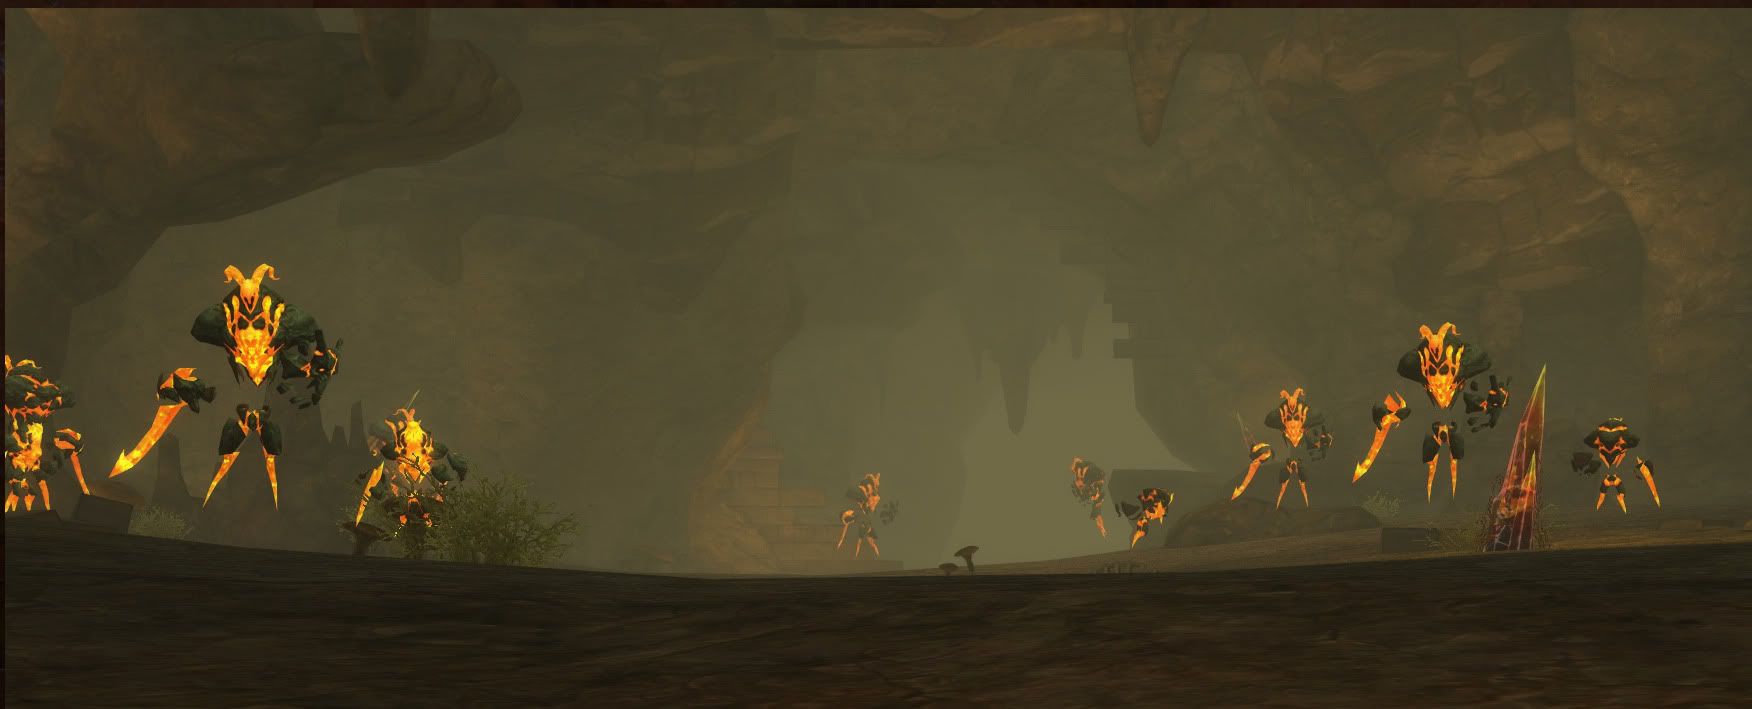
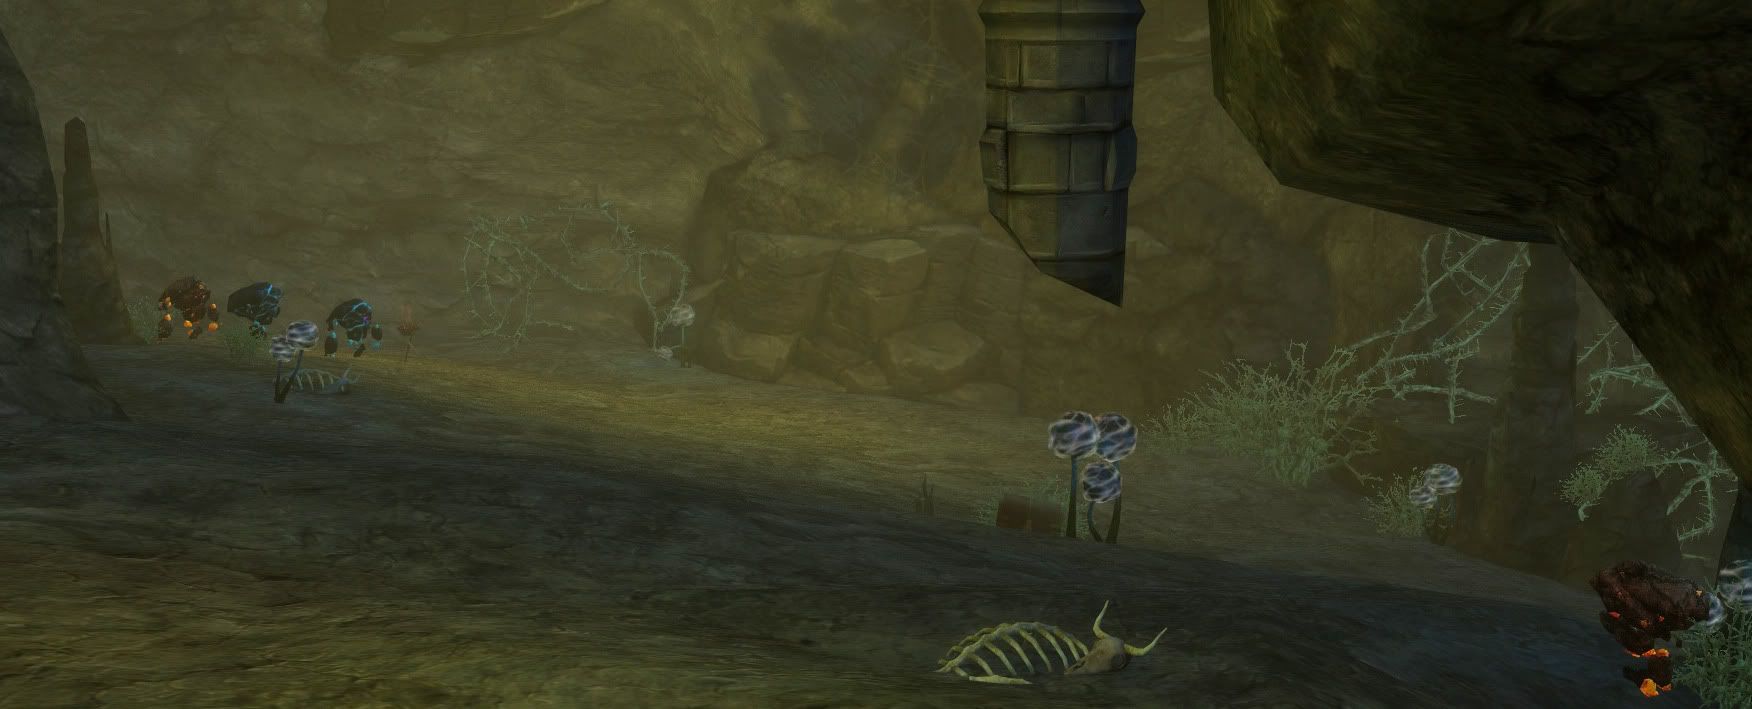
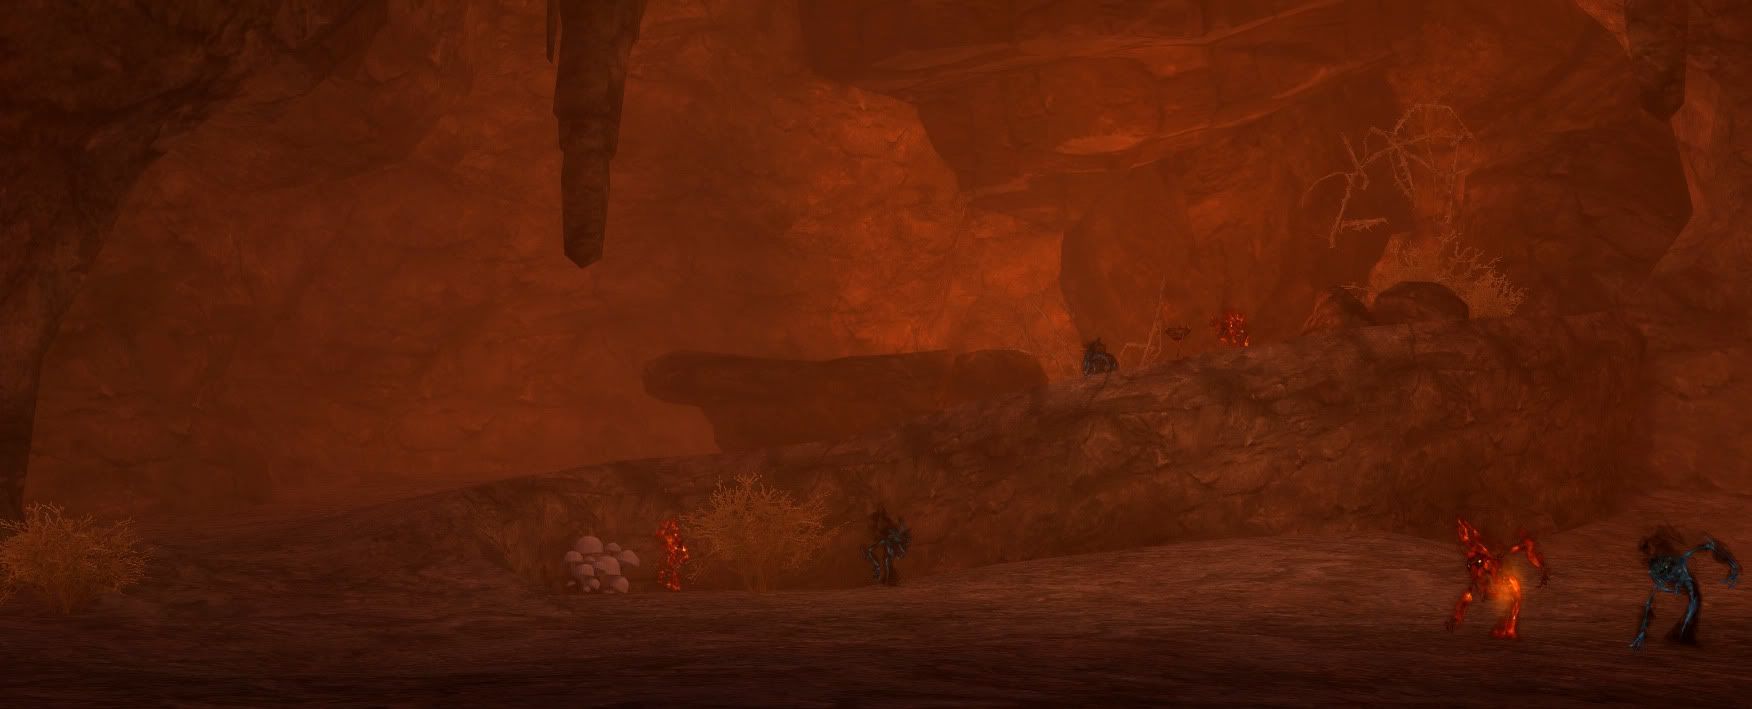
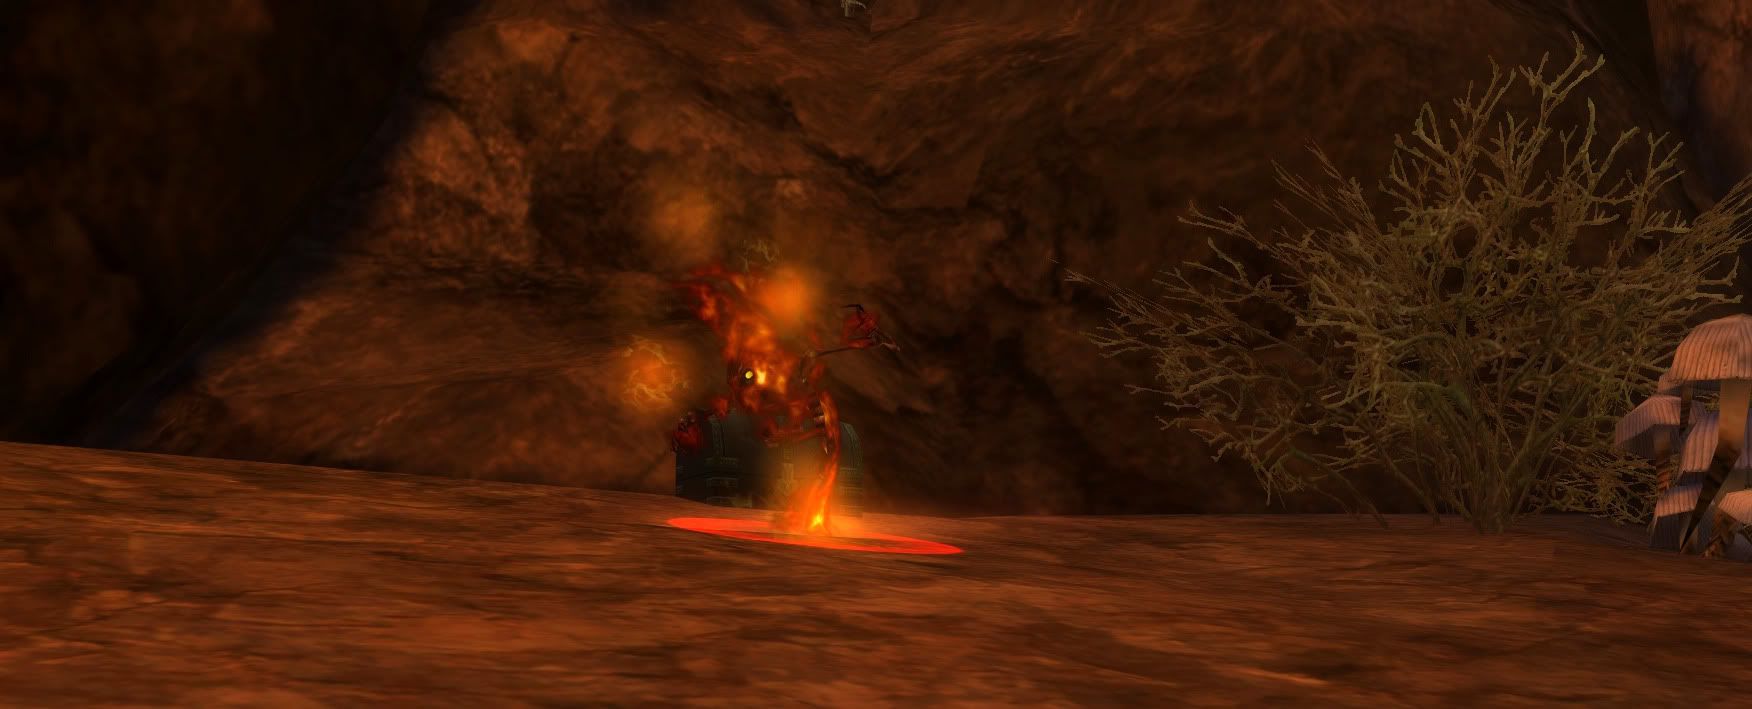
Once inside, you will face 3 fire spirits in front of you. One to your left, one to your right and a patrol that comes up the middle. You can pull all of these individually if you wait for the patrol to pass.
The only thing excessively difficult about the fire spirits in this room is how many there are. With precision running, a group can navigate directly through the middle of the room without having to kill more than one or two of the spirits, but if you're looking to go the safer route, you can hug and follow the right wall all the way around the room. You will have a couple 3 pull mobs throughout the instance, but for the most part if you pay attention to your patrols, you can get away with 2. With a little bit of CC, you shouldn't have much of an issue.
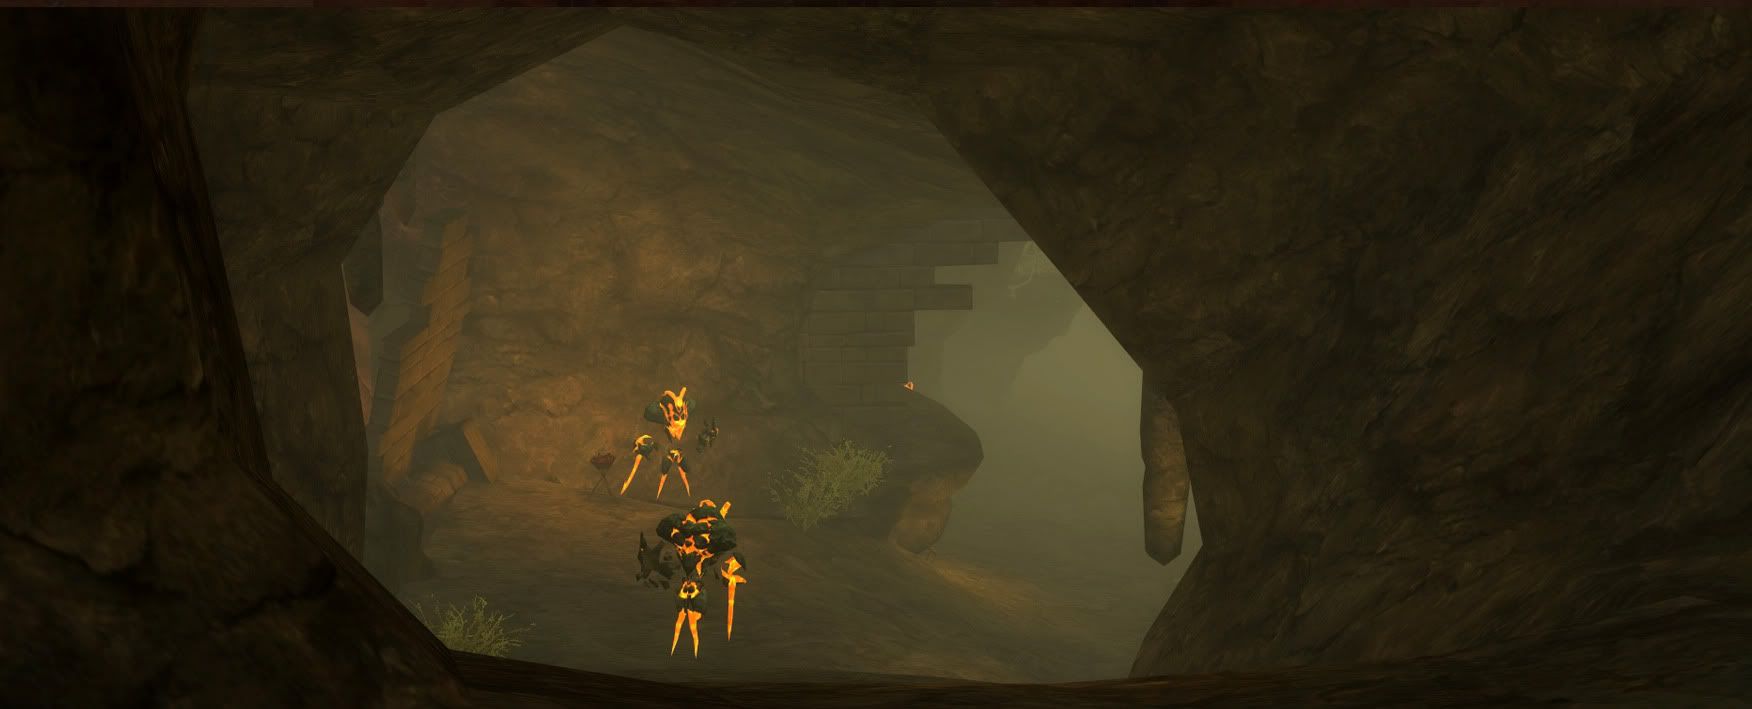
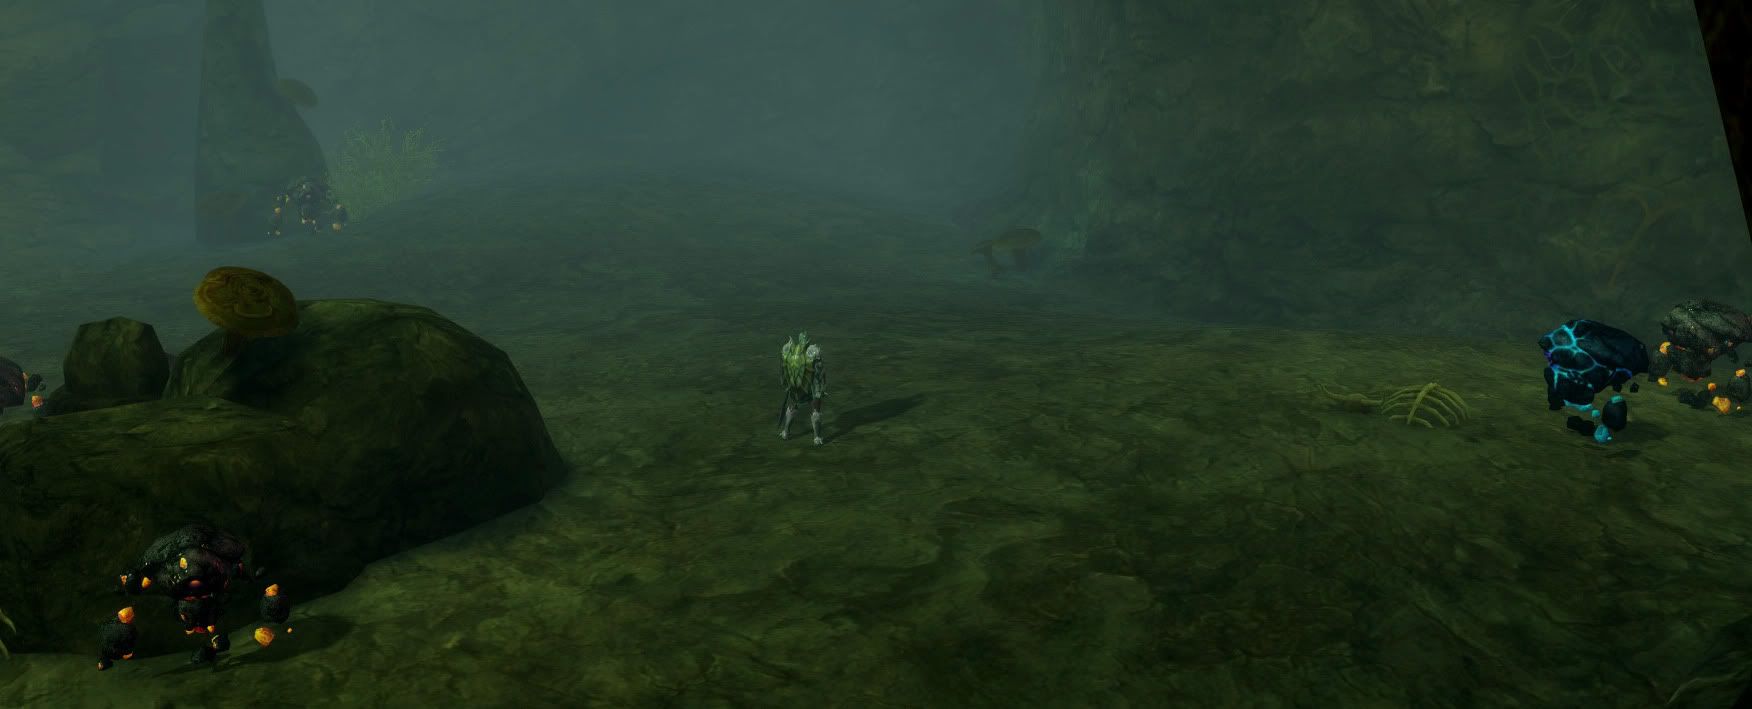
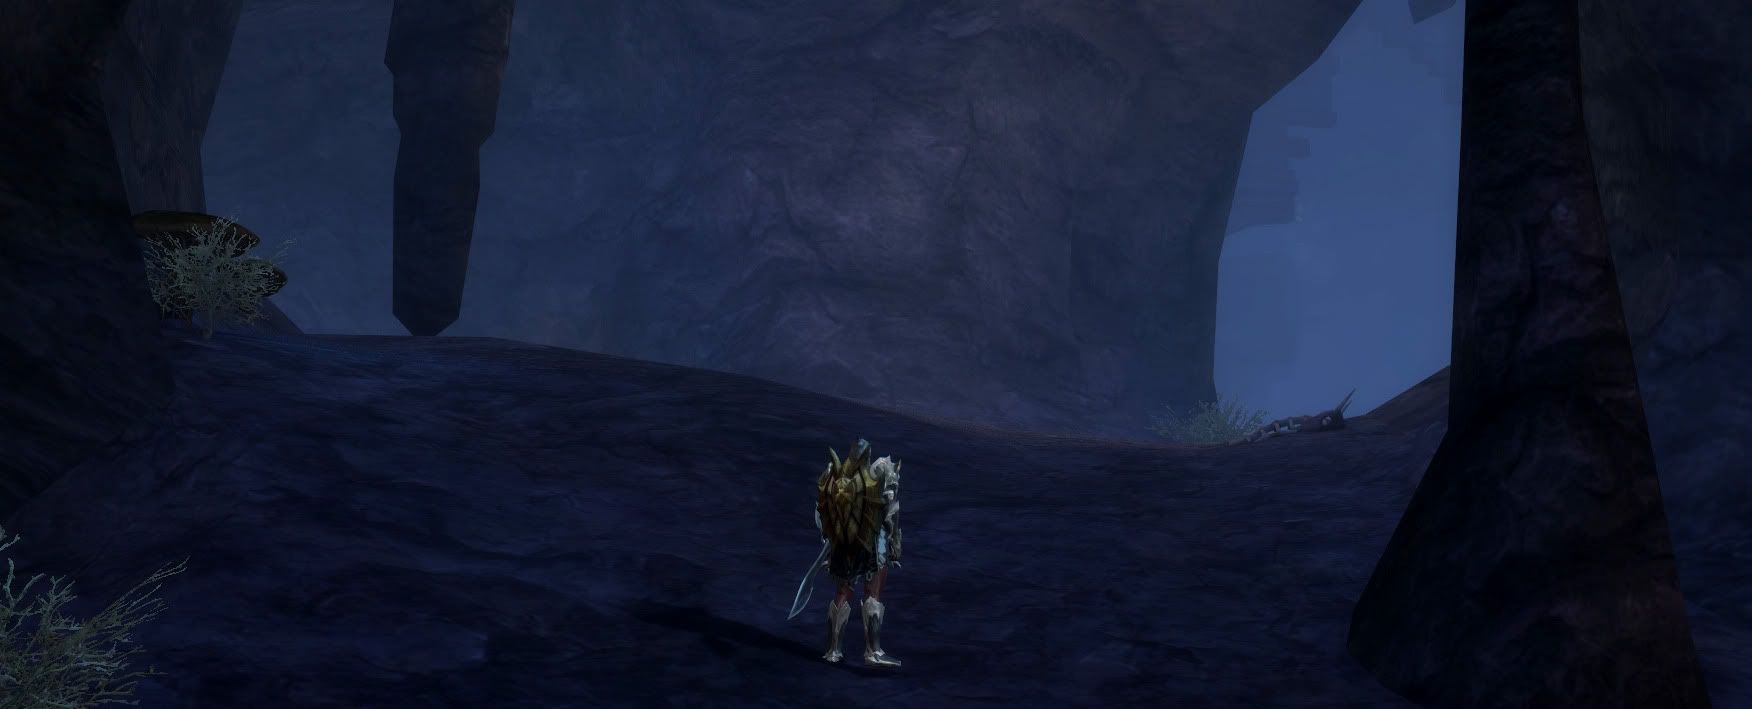
Once you've passed the fire spirit room, you will come to a steep hill. Be aware that this is the closest area that Silver Blade Rotan will spawn and patrol, so keep that in mind while pulling mobs to fight.
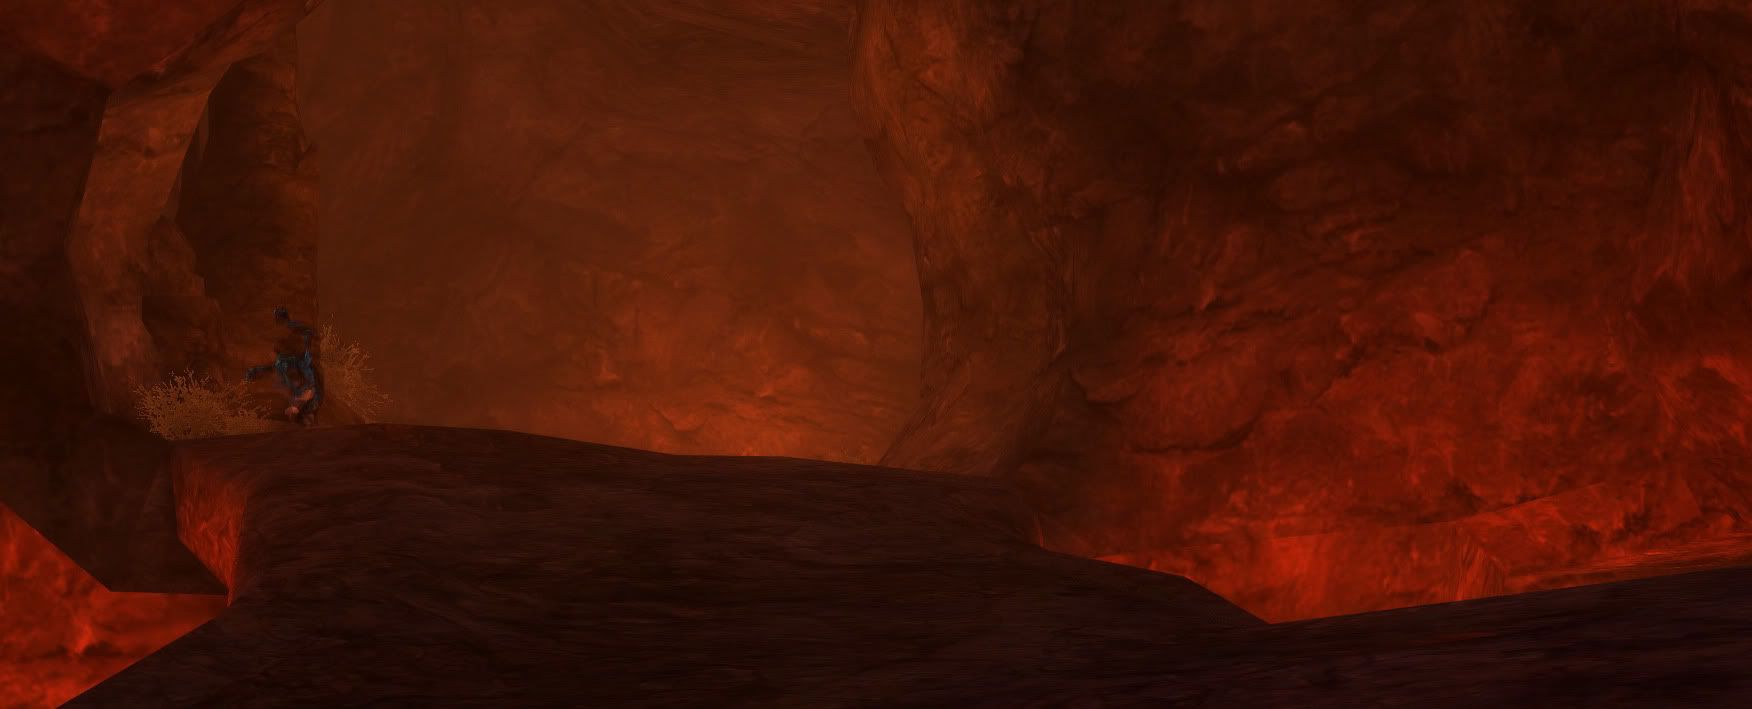
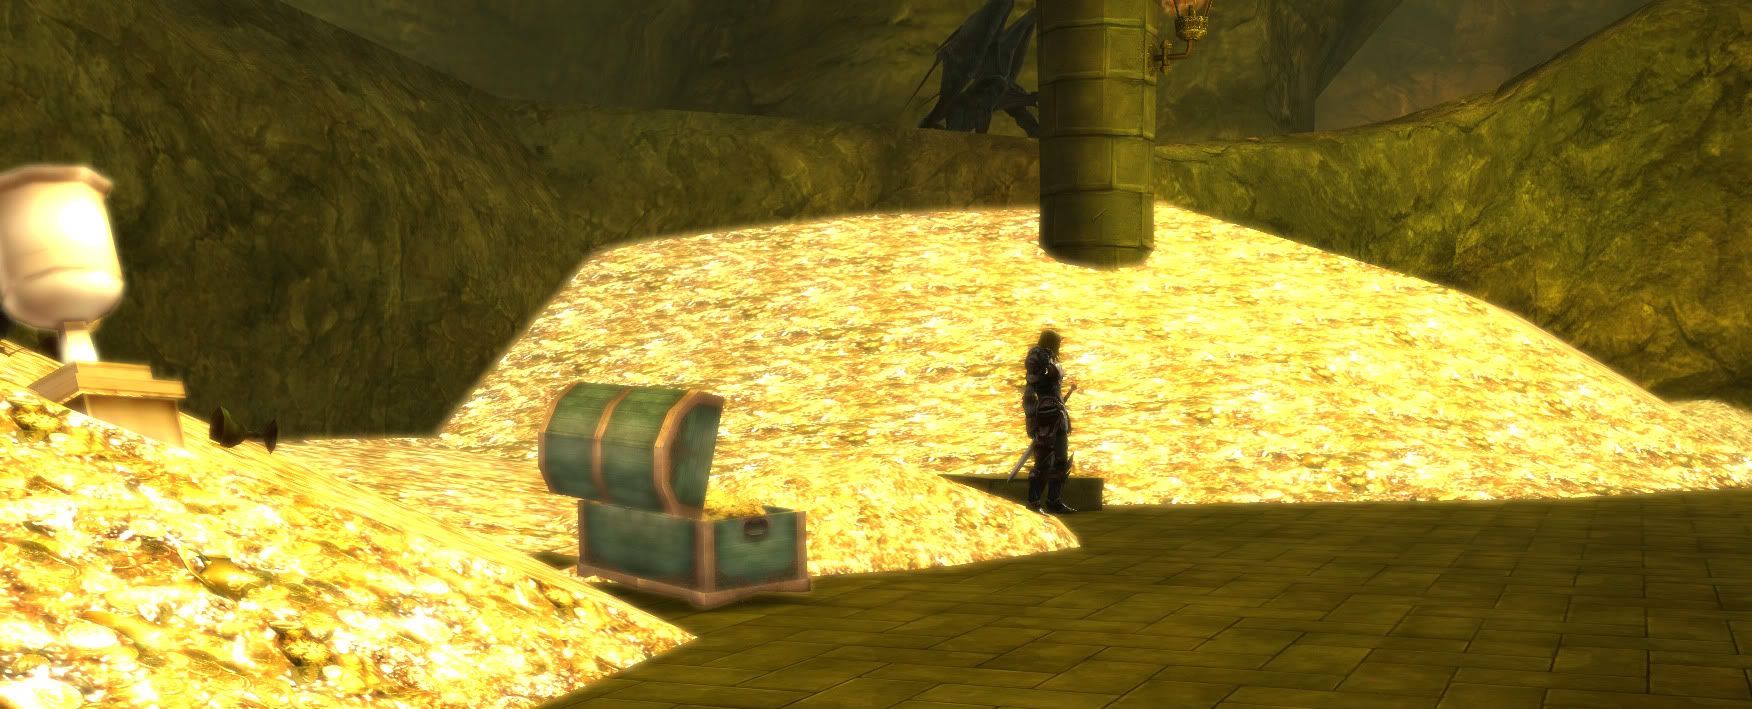
Once at the base of the hill, you find yourself facing your first fork in the road. If you wish to check for Blue Crystal Molgat and Lava Gatneri, continue forward and check the two rooms before you. Lava Gatneri has a chance to drop gold rarity 2h Sword and Polearm, so this boss is a must if you're looking for gear on these runs. To get to Kromede, take the left path past the lava pit. Take care not to fall INTO the lava pit as there is no way out- you will have to use return and run back while your party waits.
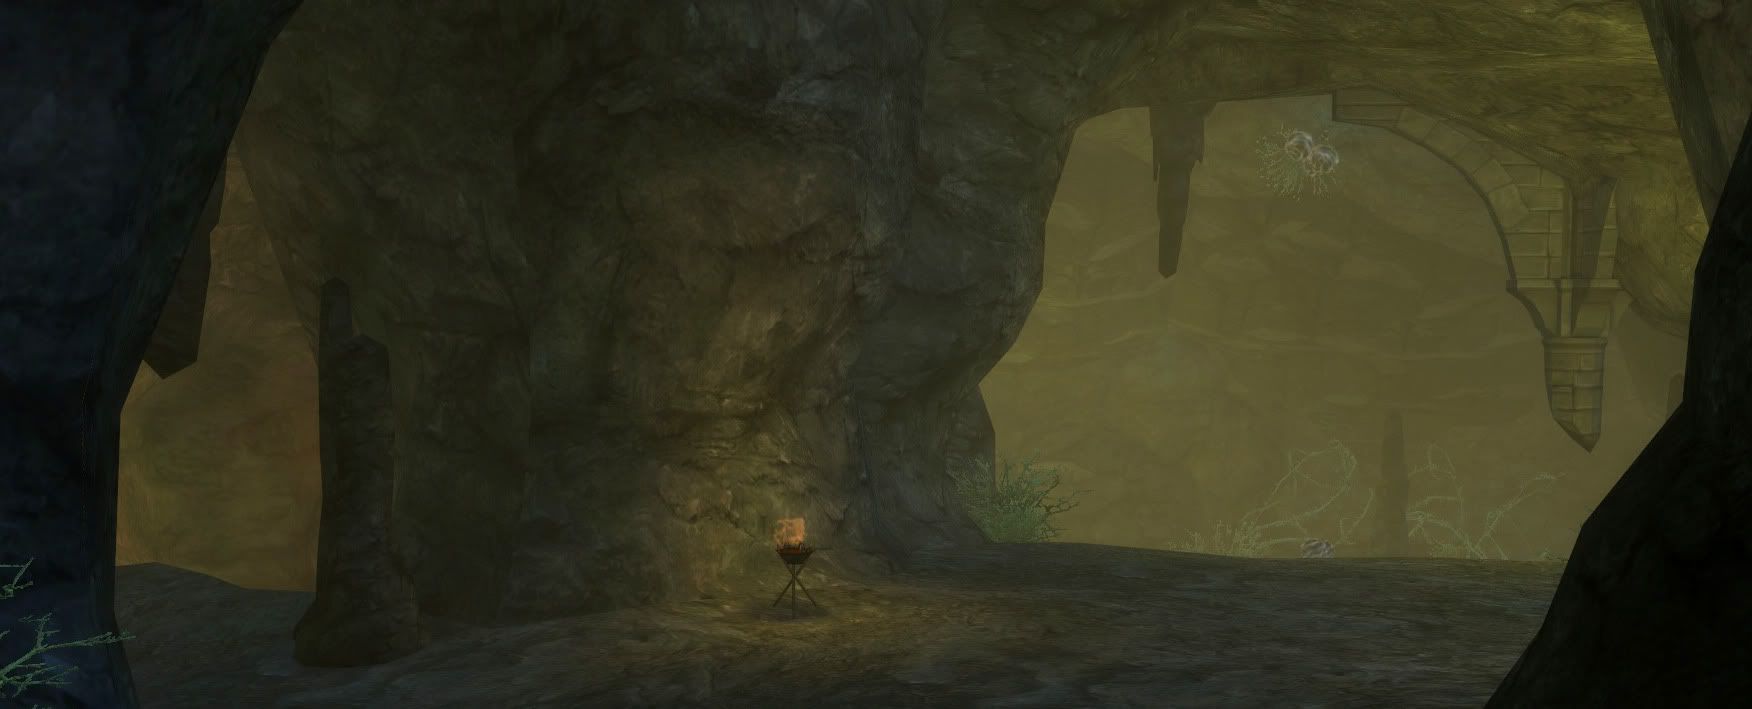
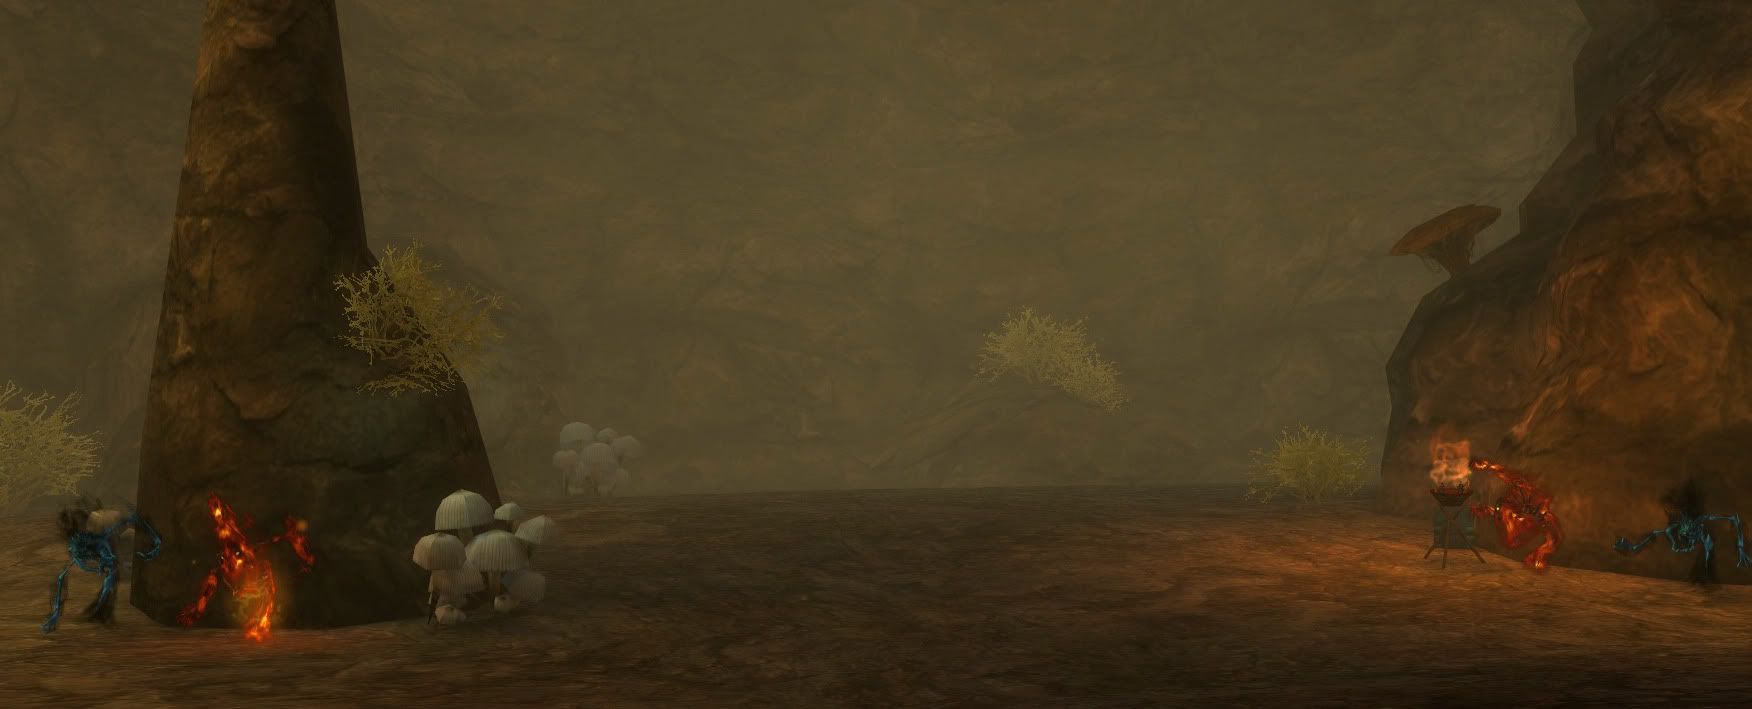
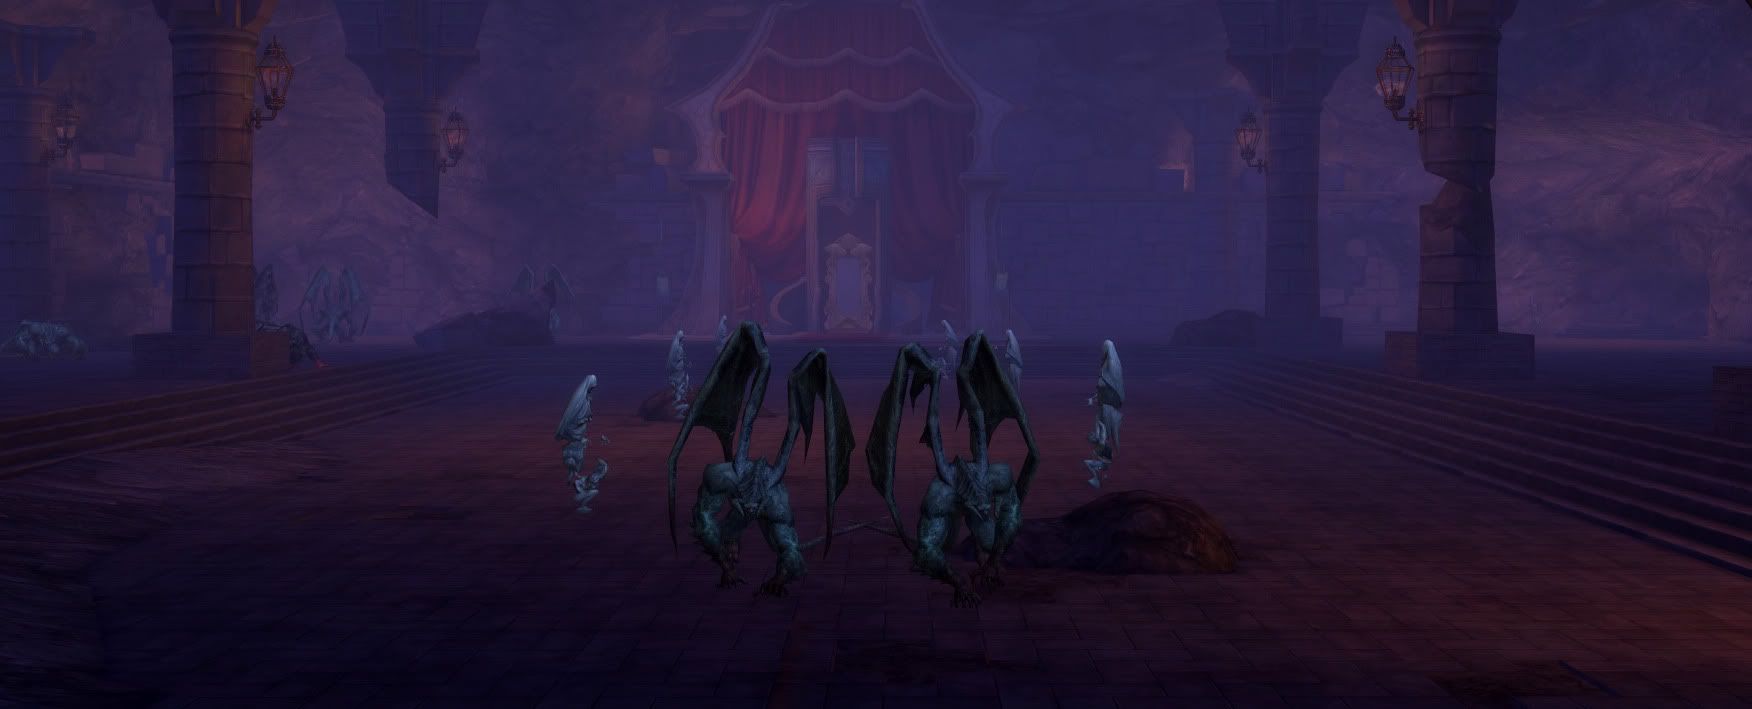
Once around the lava pit, you will come to a hill that goes upwards. This is where you really have to begin to take caution with your pulls. At the top of the hill, you begin to have groups of two gargoyles sitting along the walls and patrolling. They are also quite fast as they are flying mobs, so if you and your group need to flee, I suggest using the hill you just came up to glide down and gain some distance from them.
This is also the most common spawn point of Silver Blade Rotan and the only spawn point of Tough Sipus. This room has a few different patrols and mobs that are hidden away behind corners and rocks, so be careful when navigating and pulling.
From here, you can fight your way up the hill to the left to have a shot at finding Flame Branch Flavi and Black Smoke Asparn. They're a little bit out of the way, but give you more chances for armor drops and Flavi can drop a gold rarity Spellbook.
Once back in the central room where Rotan and Sipus have the chance of being, you can continue to finish up the instance. From here, going straight will take you to Denlavis, who is the key NPC for [Spy/Group] Hannet's Vengeance.
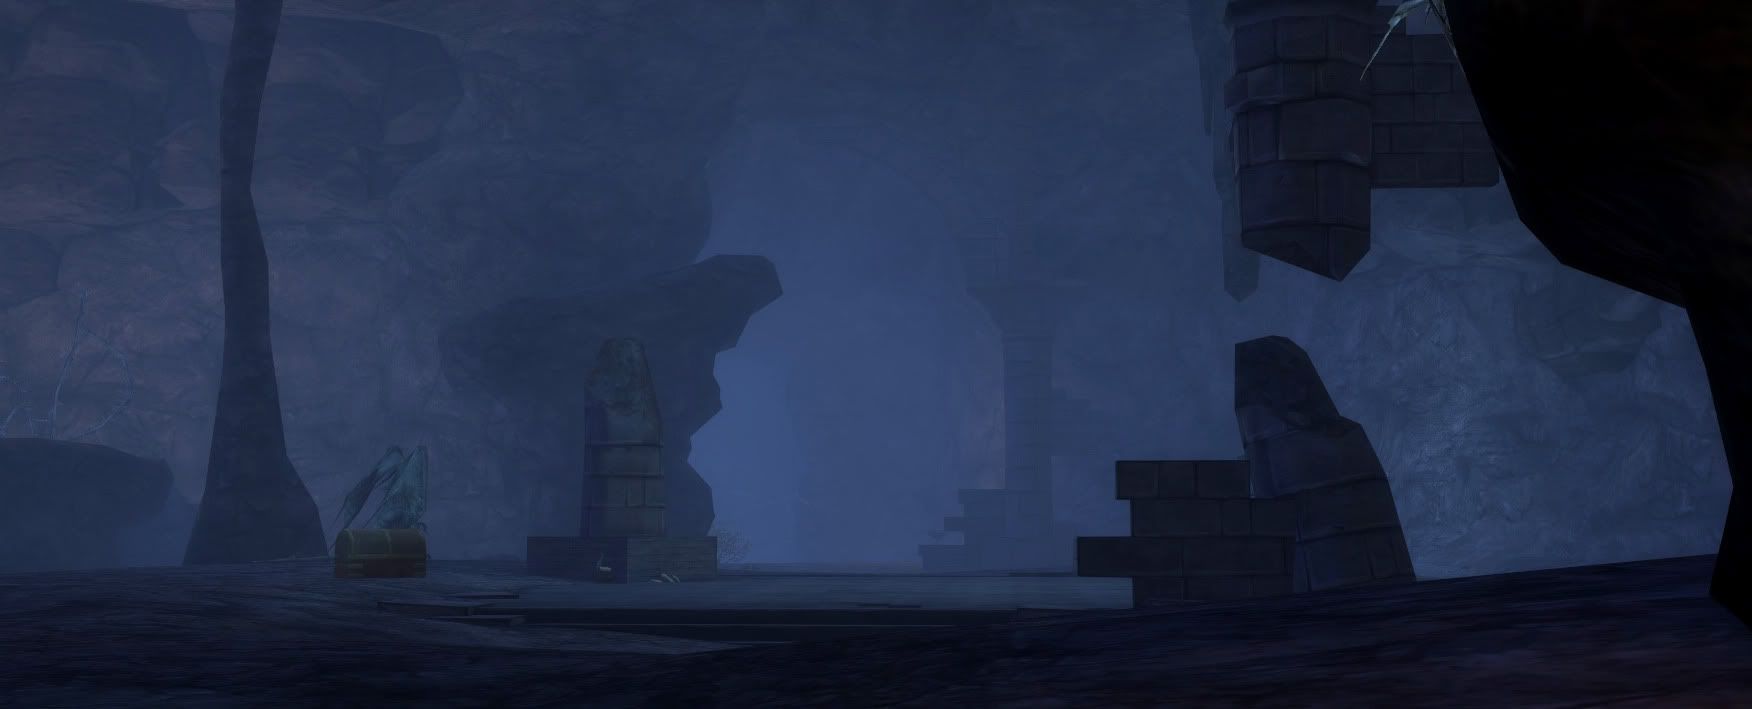
Continuing right will bring you to your last fork in the road. The right pathway brings you to Broken Wing Kutisen's room or you can go left into the main chamber of Kromede the Corrupt (or Vile Judge Kromede if you're lucky enough to receive the rare spawn).
Your best bet to avoid unmanageable fights is to choose the left or right pathways instead of fighting straight down the middle of her room. You are able to easily pull Kromede off to the side without the risk of aggroing anything else in the room, so use that space to your advantage.

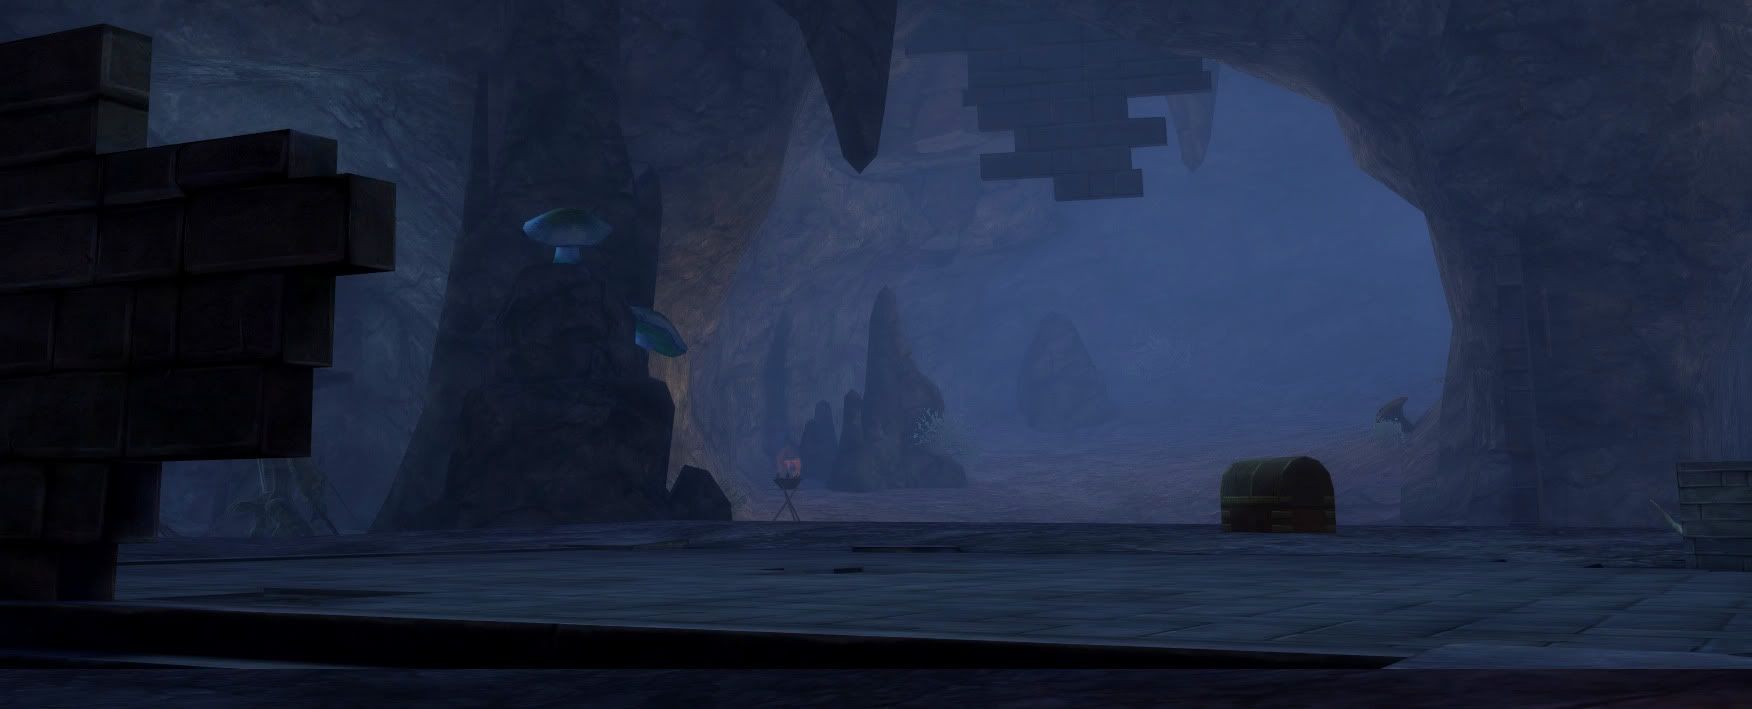
Kromede is scary fast and uses a bow as her main weapon. Running from her will do nothing for you. Still, you want your ranged and healers to stay back as far as they can. Kromede does powerful AoE attacks that can take down your squishier players very quickly. Have your tank stay on Kromede at all times pulling as much hate as possible. Assassins and Gladiators should run away from her when she begins to charge up these AoEs. In addition to her melee AoE attacks, she also drops a set of 3 traps that explode causing AoE damage. Have your gladiator keep an eye out for these and do an AoE of their own to take them out before they can explode. There is only one point of the fight I'd consider very dangerous and that is when Kromede reaches roughly 1/4 health. She will use her normal AoE and shortly after use a very powerful AoE called Miserable Struggle to follow up. This AoE has one-shotted people in my groups many times, so be aware of these abilities and run from them if you are not tanking. If you are the group's Templar, make sure you use your Steel Wall Defense I and Empyrean Armor I about this point in the fight to ensure that you survive the hit.
That's it! You've defeated Kromede. As of the time of this guide, Kromede has a -very low- gold drop rate, so best of luck receiving one of those weapons.
Source: Aionsource
Your shopping cart is empty.